


![The 14 best storage units in toronto [2022]](https://i0.wp.com/torontoblogs.ca/wp-content/uploads/2022/04/surface-image-cart-with-cardboard-boxes-empty-hall-self-storage-facility-copy-space.jpg) torontoblogs.ca ```html
torontoblogs.ca ```html Introduction: Building Your Own Storage Shed Tired of clutter overflowing from your garage or home? Building your own storage shed can be a rewarding and cost-effective solution. This guide will walk you through the essential steps, from planning to finishing touches, to create a functional and durable storage space. Let's get started!
Step 1: Planning and Preparation The foundation of any successful DIY project lies in careful planning. Before you even think about picking up a hammer, consider these crucial factors: Permits: Check with your local building codes and regulations. You might need a permit before you start construction, especially for larger sheds. Size and Location: Determine the ideal size based on your storage needs and available space. Consider factors like sunlight exposure, drainage, and proximity to your house. Mark out the proposed area with stakes and string. Design: Research different shed designs online or in DIY books. Choose a design that suits your aesthetic preferences and skill level. Consider the roof style (gable, shed, etc.) and door placement. Draw up detailed plans, including dimensions and materials lists. Materials: Create a comprehensive list of materials, including lumber (pressure-treated for the base), siding, roofing, fasteners, doors, windows (if desired), and any necessary hardware. Shop around for the best prices and quality.
Step 2: Building the Foundation A solid foundation is critical for a long-lasting shed. There are several options, including a concrete slab, gravel pad, or wooden skid foundation. This guide will focus on a simple wooden skid foundation: Clear the Area: Remove all vegetation and debris from the marked area. Level the ground as much as possible. Prepare the Skid Base: Cut pressure-treated lumber to the desired length for the skids. The number of skids will depend on the size of your shed; typically, you'll need at least two. Assemble the Frame: Build a rectangular frame on top of the skids using more pressure-treated lumber. Ensure the frame is square using a carpenter's square and secure the corners with screws. Install Floor Joists: Install floor joists within the frame, spaced evenly apart (usually 16 inches on center). Secure them to the frame with screws or nails. Lay the Flooring: Cover the floor joists with plywood or oriented strand board (OSB). Use screws to securely attach the flooring to the joists.
Step 3: Framing the Walls With the foundation complete, it's time to frame the walls. Cut the Wall Studs: Cut the wall studs to the desired height. Remember to account for the top and bottom plates. Assemble the Walls: Lay out the studs, top plate, and bottom plate for each wall. Space the studs 16 inches on center. Nail or screw the studs to the plates to create the wall frames. Remember to frame openings for doors and windows. Raise the Walls: With a helper, carefully raise each wall into place on the foundation. Ensure the walls are plumb (perfectly vertical) using a level. Secure the Walls: Secure the walls to the foundation and to each other at the corners using screws or nails. Use temporary bracing to keep the walls plumb while you work.
Step 4: Installing the Roof The roof is essential for protecting your shed from the elements. Build the Rafters or Trusses: Depending on the roof design, you'll either build rafters (individual supports) or trusses (pre-fabricated supports). Rafters are typically used for gable roofs. Trusses are often easier for beginners. Install the Rafters or Trusses: Attach the rafters or trusses to the top plates of the walls. Ensure they are spaced evenly apart and securely fastened. Sheathe the Roof: Cover the rafters or trusses with plywood or OSB sheathing. Nail or screw the sheathing to the supports. Install Roofing Material: Choose a roofing material (asphalt shingles, metal roofing, etc.) and install it according to the manufacturer's instructions. Overlap the roofing material properly to prevent leaks.
Step 5: Adding Siding and Finishing Touches With the structure complete, it's time to add siding and finishing touches. Install Siding: Choose a siding material (wood, vinyl, metal) and install it according to the manufacturer's instructions. Overlap the siding properly to prevent water damage. Install Doors and Windows: Install the doors and windows, ensuring they are properly sealed and weatherproofed. Add Trim: Install trim around the doors, windows, and corners to give the shed a finished look. Paint or Stain: Paint or stain the shed to protect it from the elements and enhance its appearance. Interior Finishing (Optional): Add shelves, workbenches, or other interior features to customize your shed for your specific storage needs.
Conclusion: Enjoy Your New Storage Shed Congratulations! You've successfully built your own storage shed. With careful planning and diligent execution, you now have a functional and attractive space to store your belongings and keep your property organized. Remember to regularly maintain your shed to ensure its longevity and continue enjoying its benefits for years to come.
``` Ground Level Storage Container Building Units In New York
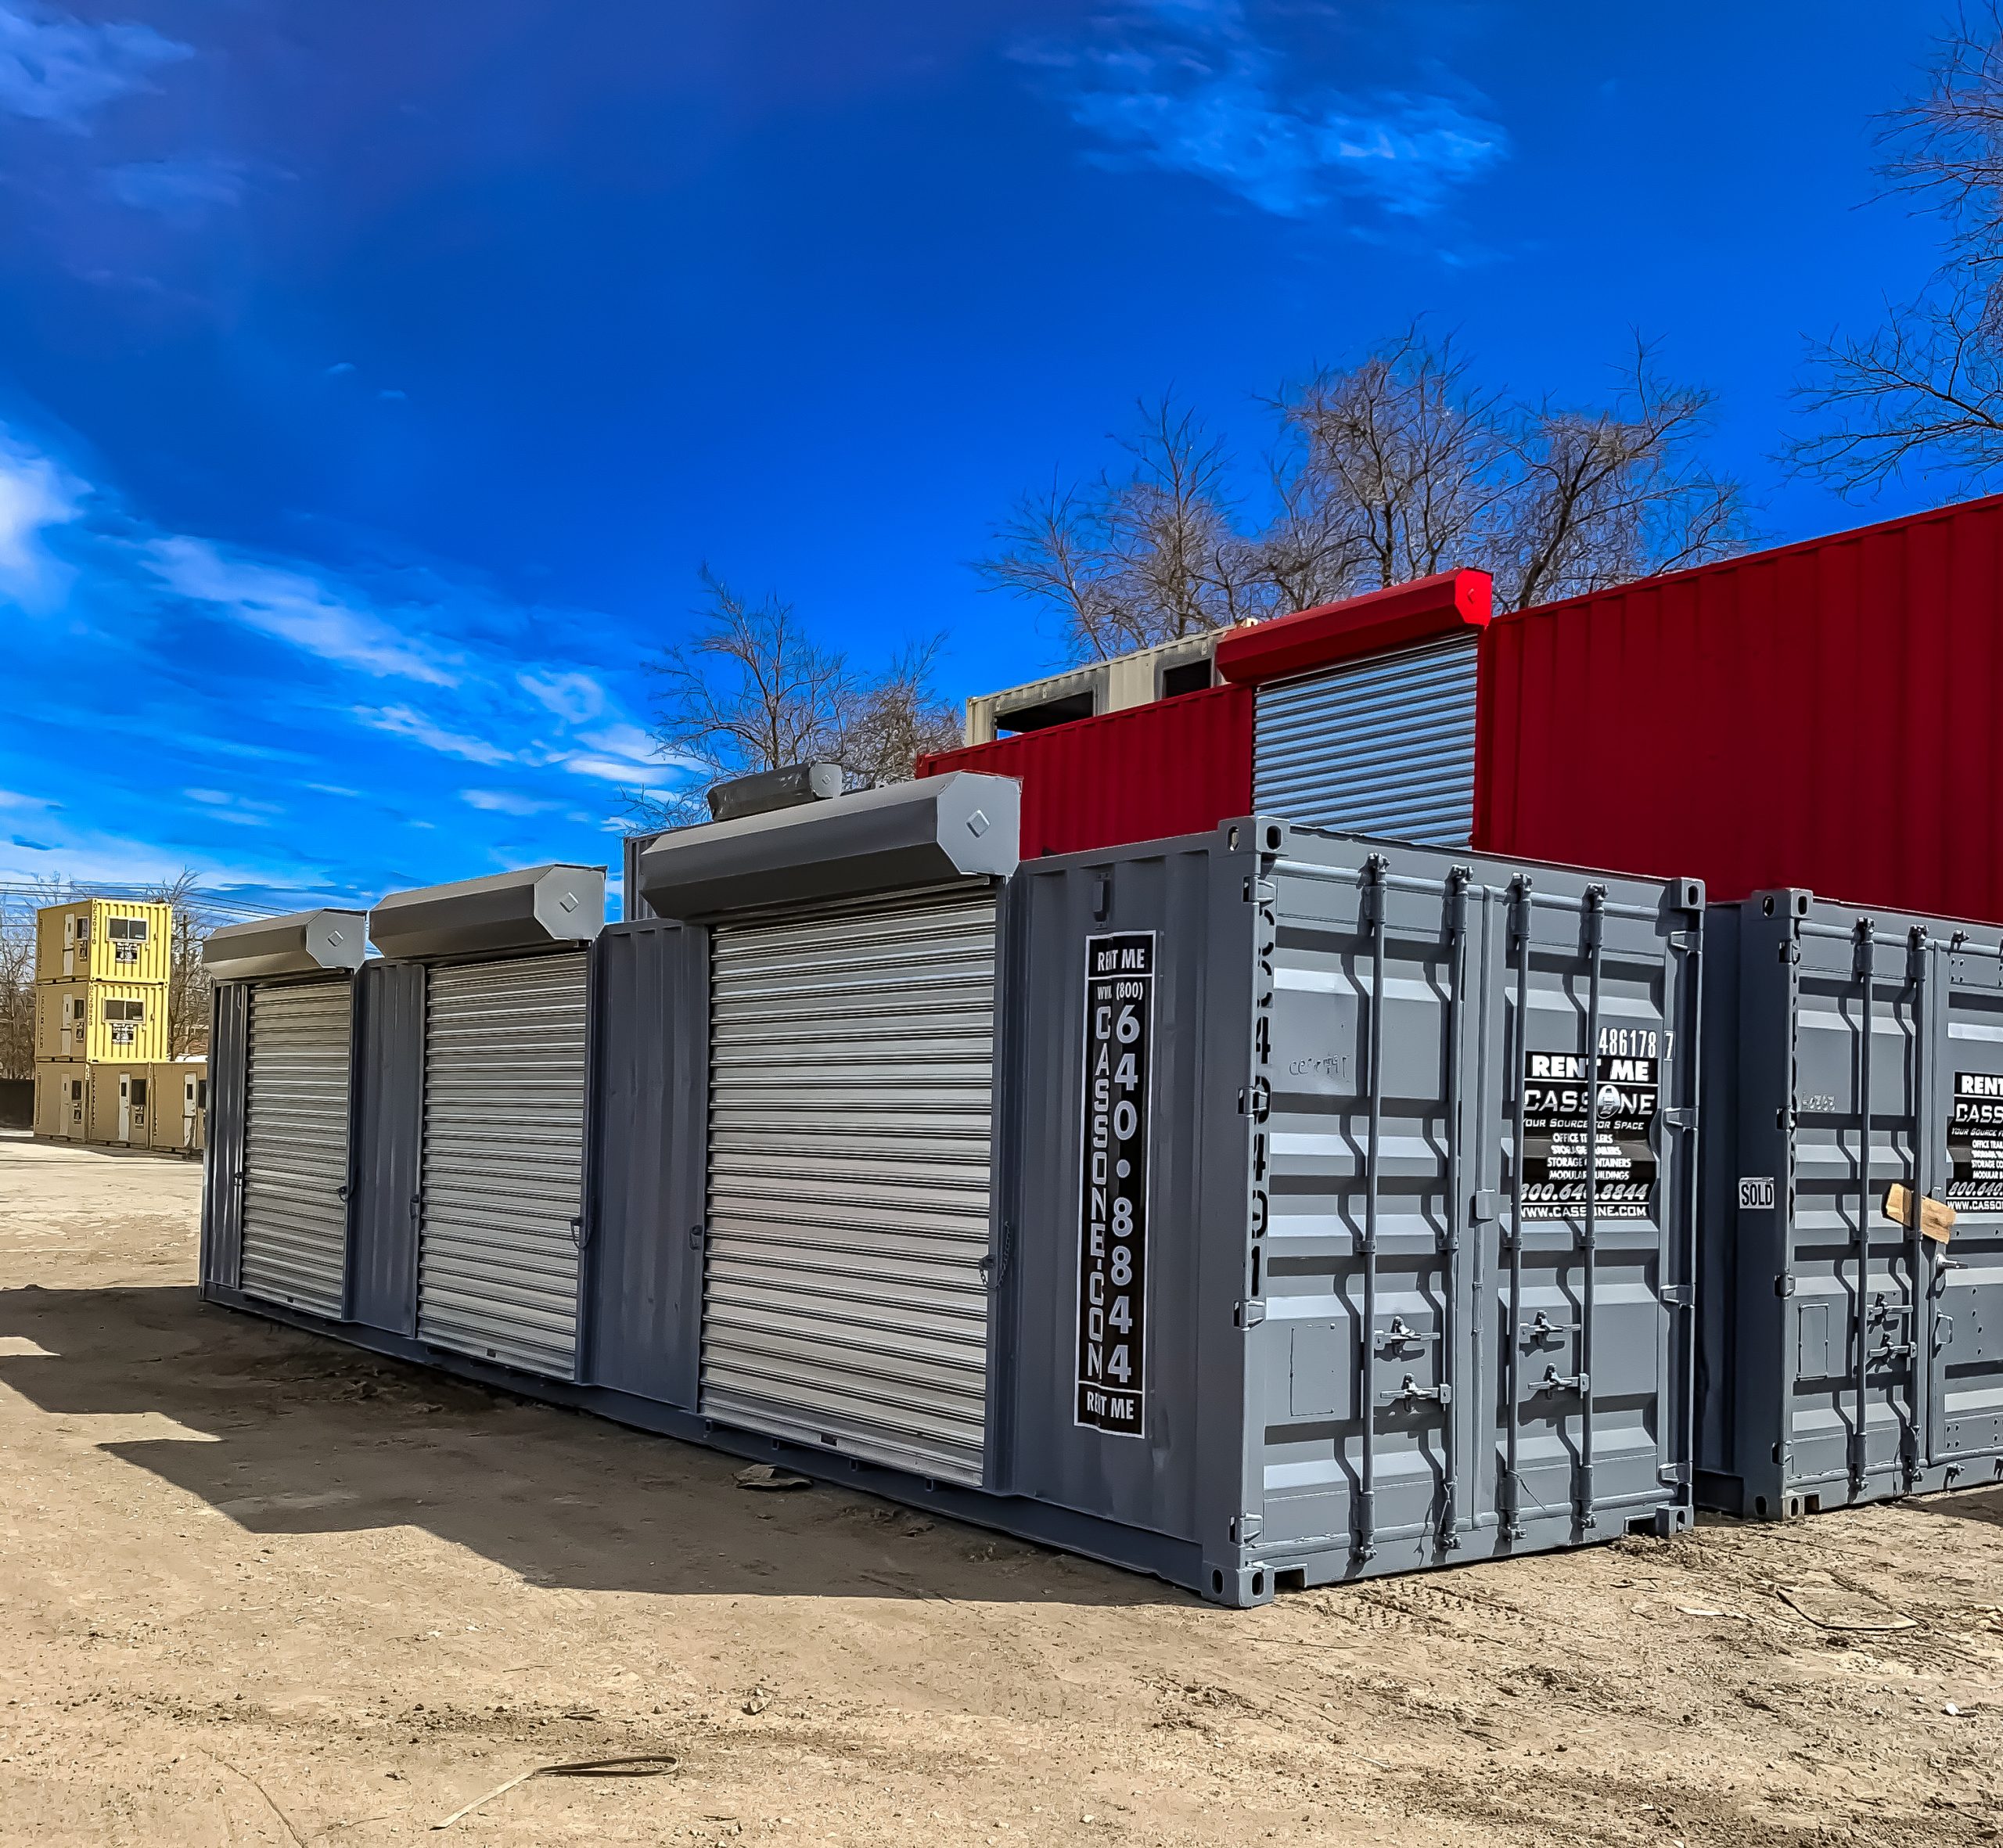 www.cassone.com
 The 14 Best Storage Units In Toronto [2022]
torontoblogs.ca A Comprehensive Guide On Warehouse Storage
 barbaraiweins.com
0 komentar:
Posting Komentar